TL;DR
JankyBorders is a tool that allows you to add a colored border around macOS app windows. This is helpful, especially in dark mode, to better see the window border and identify which application window is in front and active.
With a simple configuration file, it’s possible to specify the colors for the active and inactive windows. The program has more customizable options than I will discuss here. I focus on defining the colors for the active window and the inactive windows. I will also show how to use gradients and glow for borders.
Installation
The easist way is to use homebrew. The instructions are available from JankyBorders. I mention the steps here to save you from opening another website. Open a new terminal window of your choice and type the following
1brew tap FelixKratz/formulae
2brew install borders
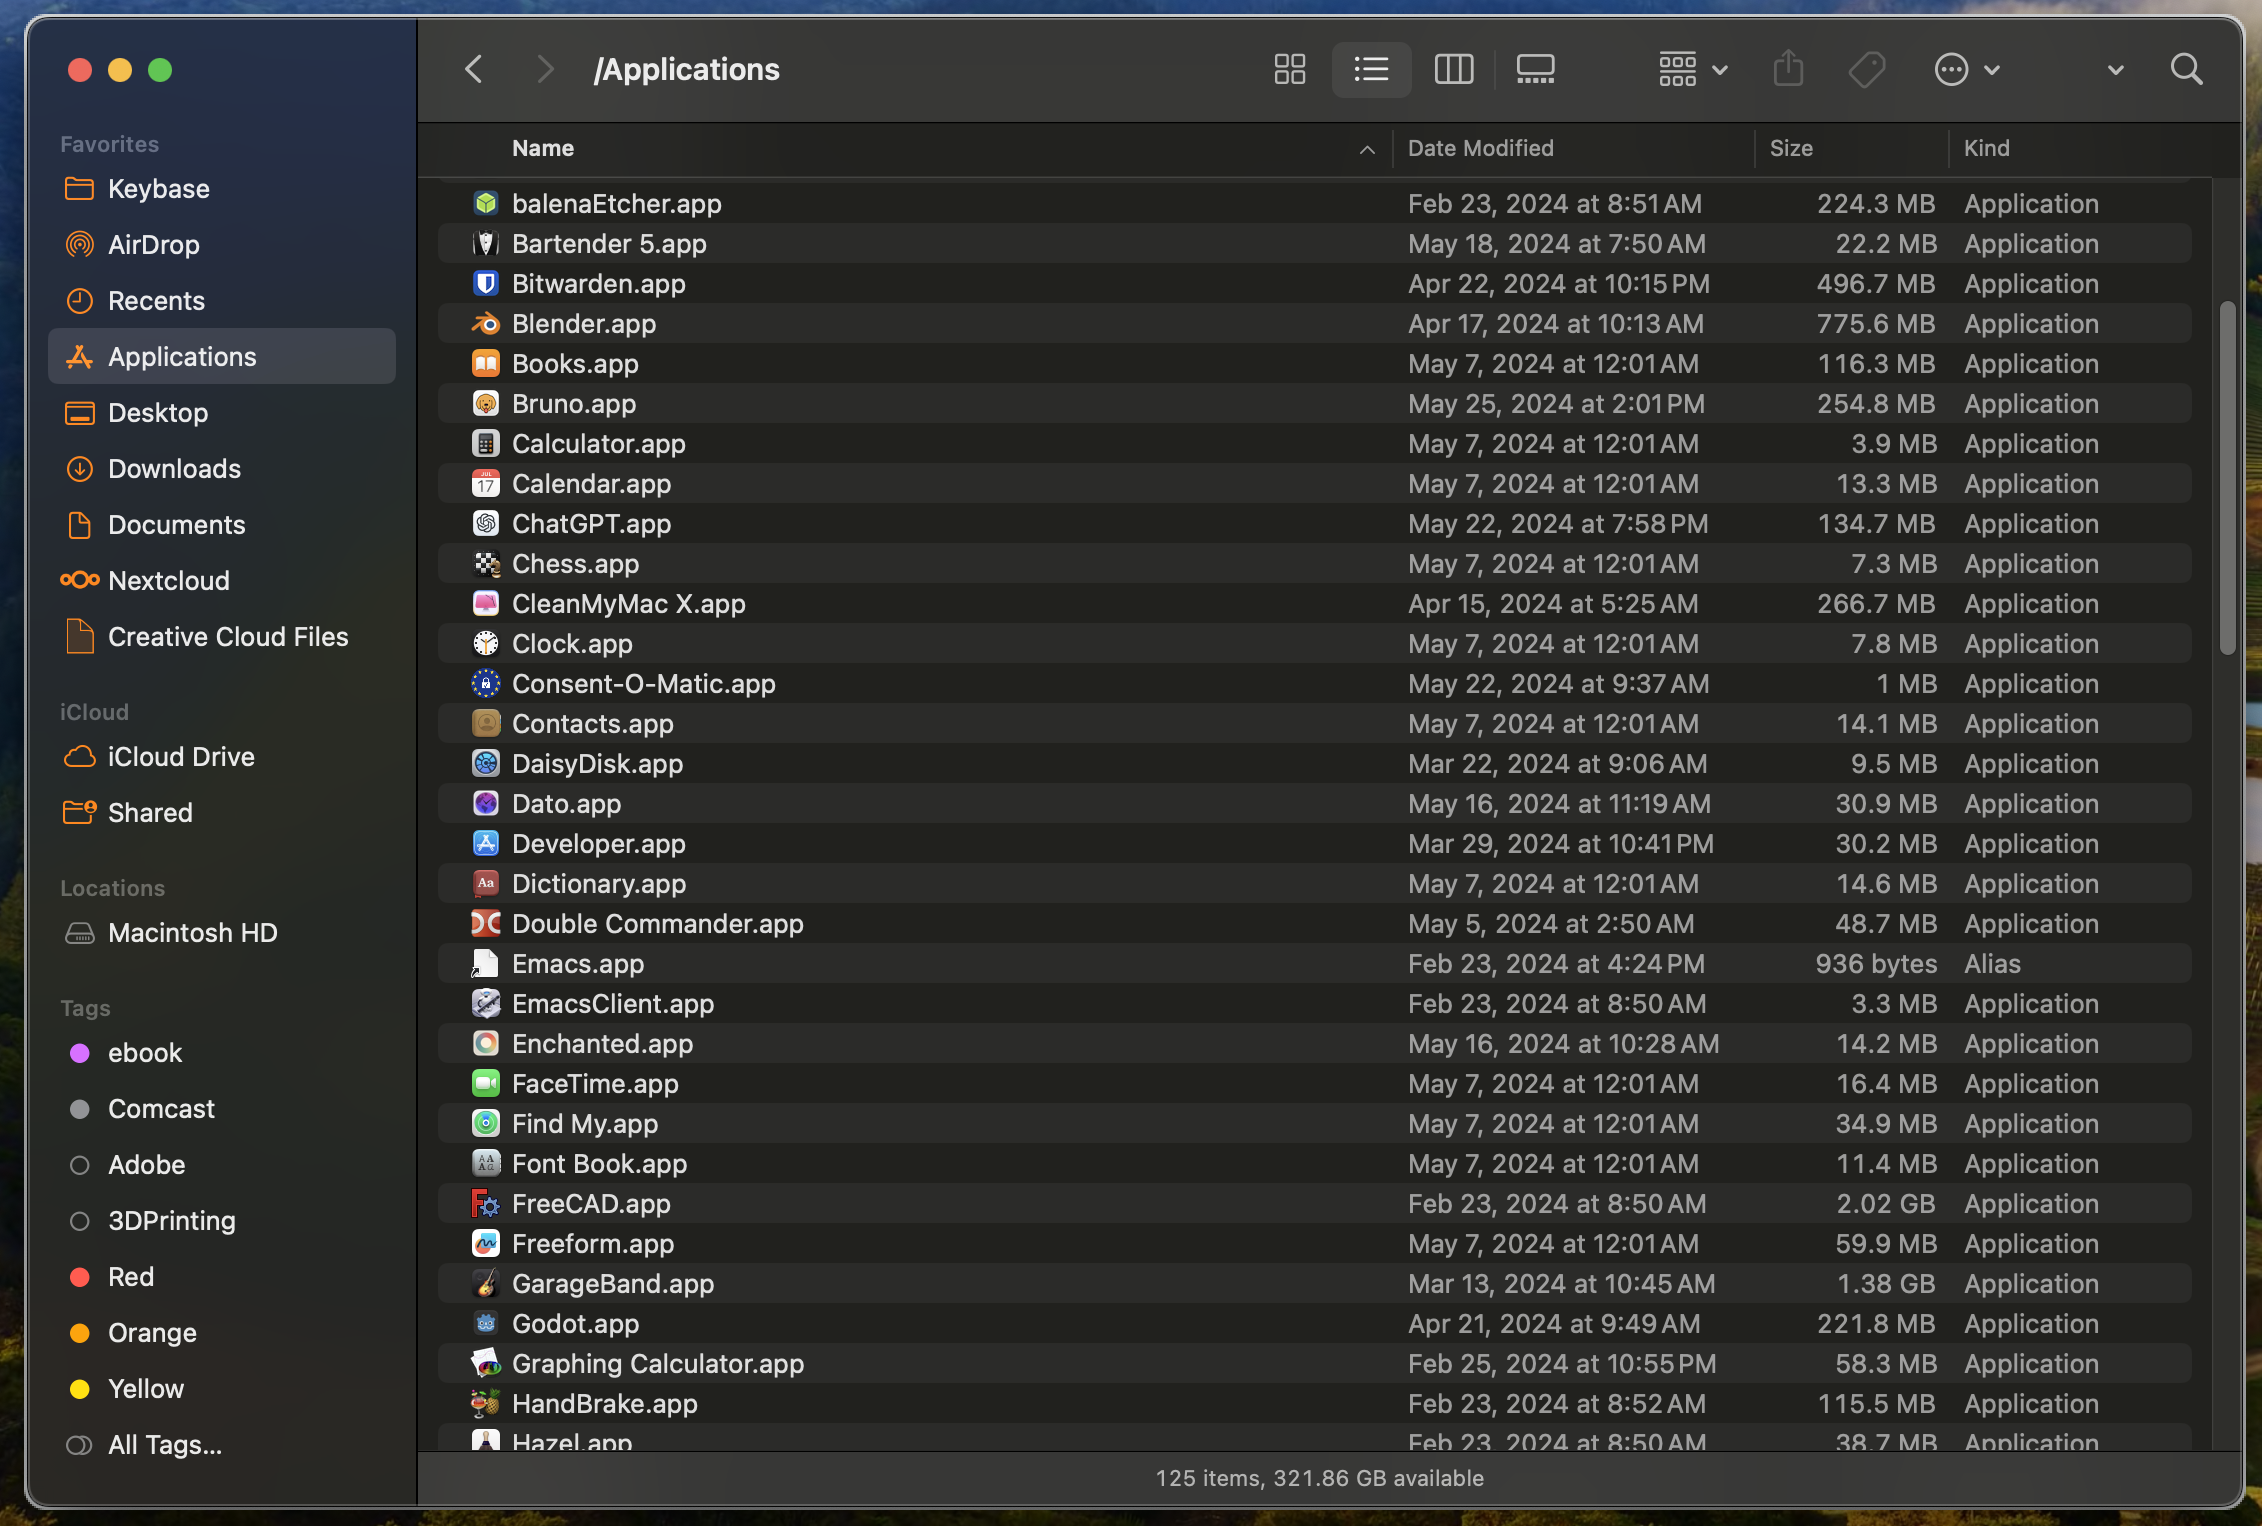
After installation, type borders & and after pressing enter, and a possible small delay, you will see a border around all the open application windows. You will see a white border around your terminal window.
Shot Details
The border might not be easy to see in light mode. I switched to dark mode for demo purposes.
It’s important to leave the borders program running. Therefore, I appended it with the & to ensure that the process is running in the background. To avoid having to launch borders everytime you restart your machine, you can create a LaunchAgent config and ensure that the program is launched automatically and runs in the background. If you installed borders with homebrew, you will automatically have a LaunchAgent config installed alongside the program.
You can enable borders as LauchAgent by running the following command
1brew services start bordersYou can disable it by running the following command
1brew services stop bordersConfiguration
After each change in the config file, you need to restart the
bordersprogram to apply the changes.
Colors for Active and Inactive Windows
Although there is a way to provide the config on the command line whan launching borders, I recommend to create a config file in the $HOME/.config/borders directory. The config file should be named bordersrc. Technically, it’s a shell script that will launch borders with the provided options.
By default, all the colors are solid. But we can change them to be gradients or glow. Very nice feature.
Color values are defined in the form of 0xAARRGGBB.
| Option | Description |
|---|---|
| AA | The Alpha value controls the opacity. 0 is fully transparent and 255 is fully opaque. |
| RR | The Red value |
| GG | The Green value |
| BB | The Blue value |
All values are in hex and range from 00 to FF. It doesn’t matter if they are in lower or upper case.
The config file should look like this
I have a Retina display on my macbook and use the hidpi option.
1#!/bin/bash
2
3options=(
4    hidpi=on
5    active_color=0xff0000FF
6)
7
8borders "${options[@]}"
I changed the active border color to blue (RGB 0000FF).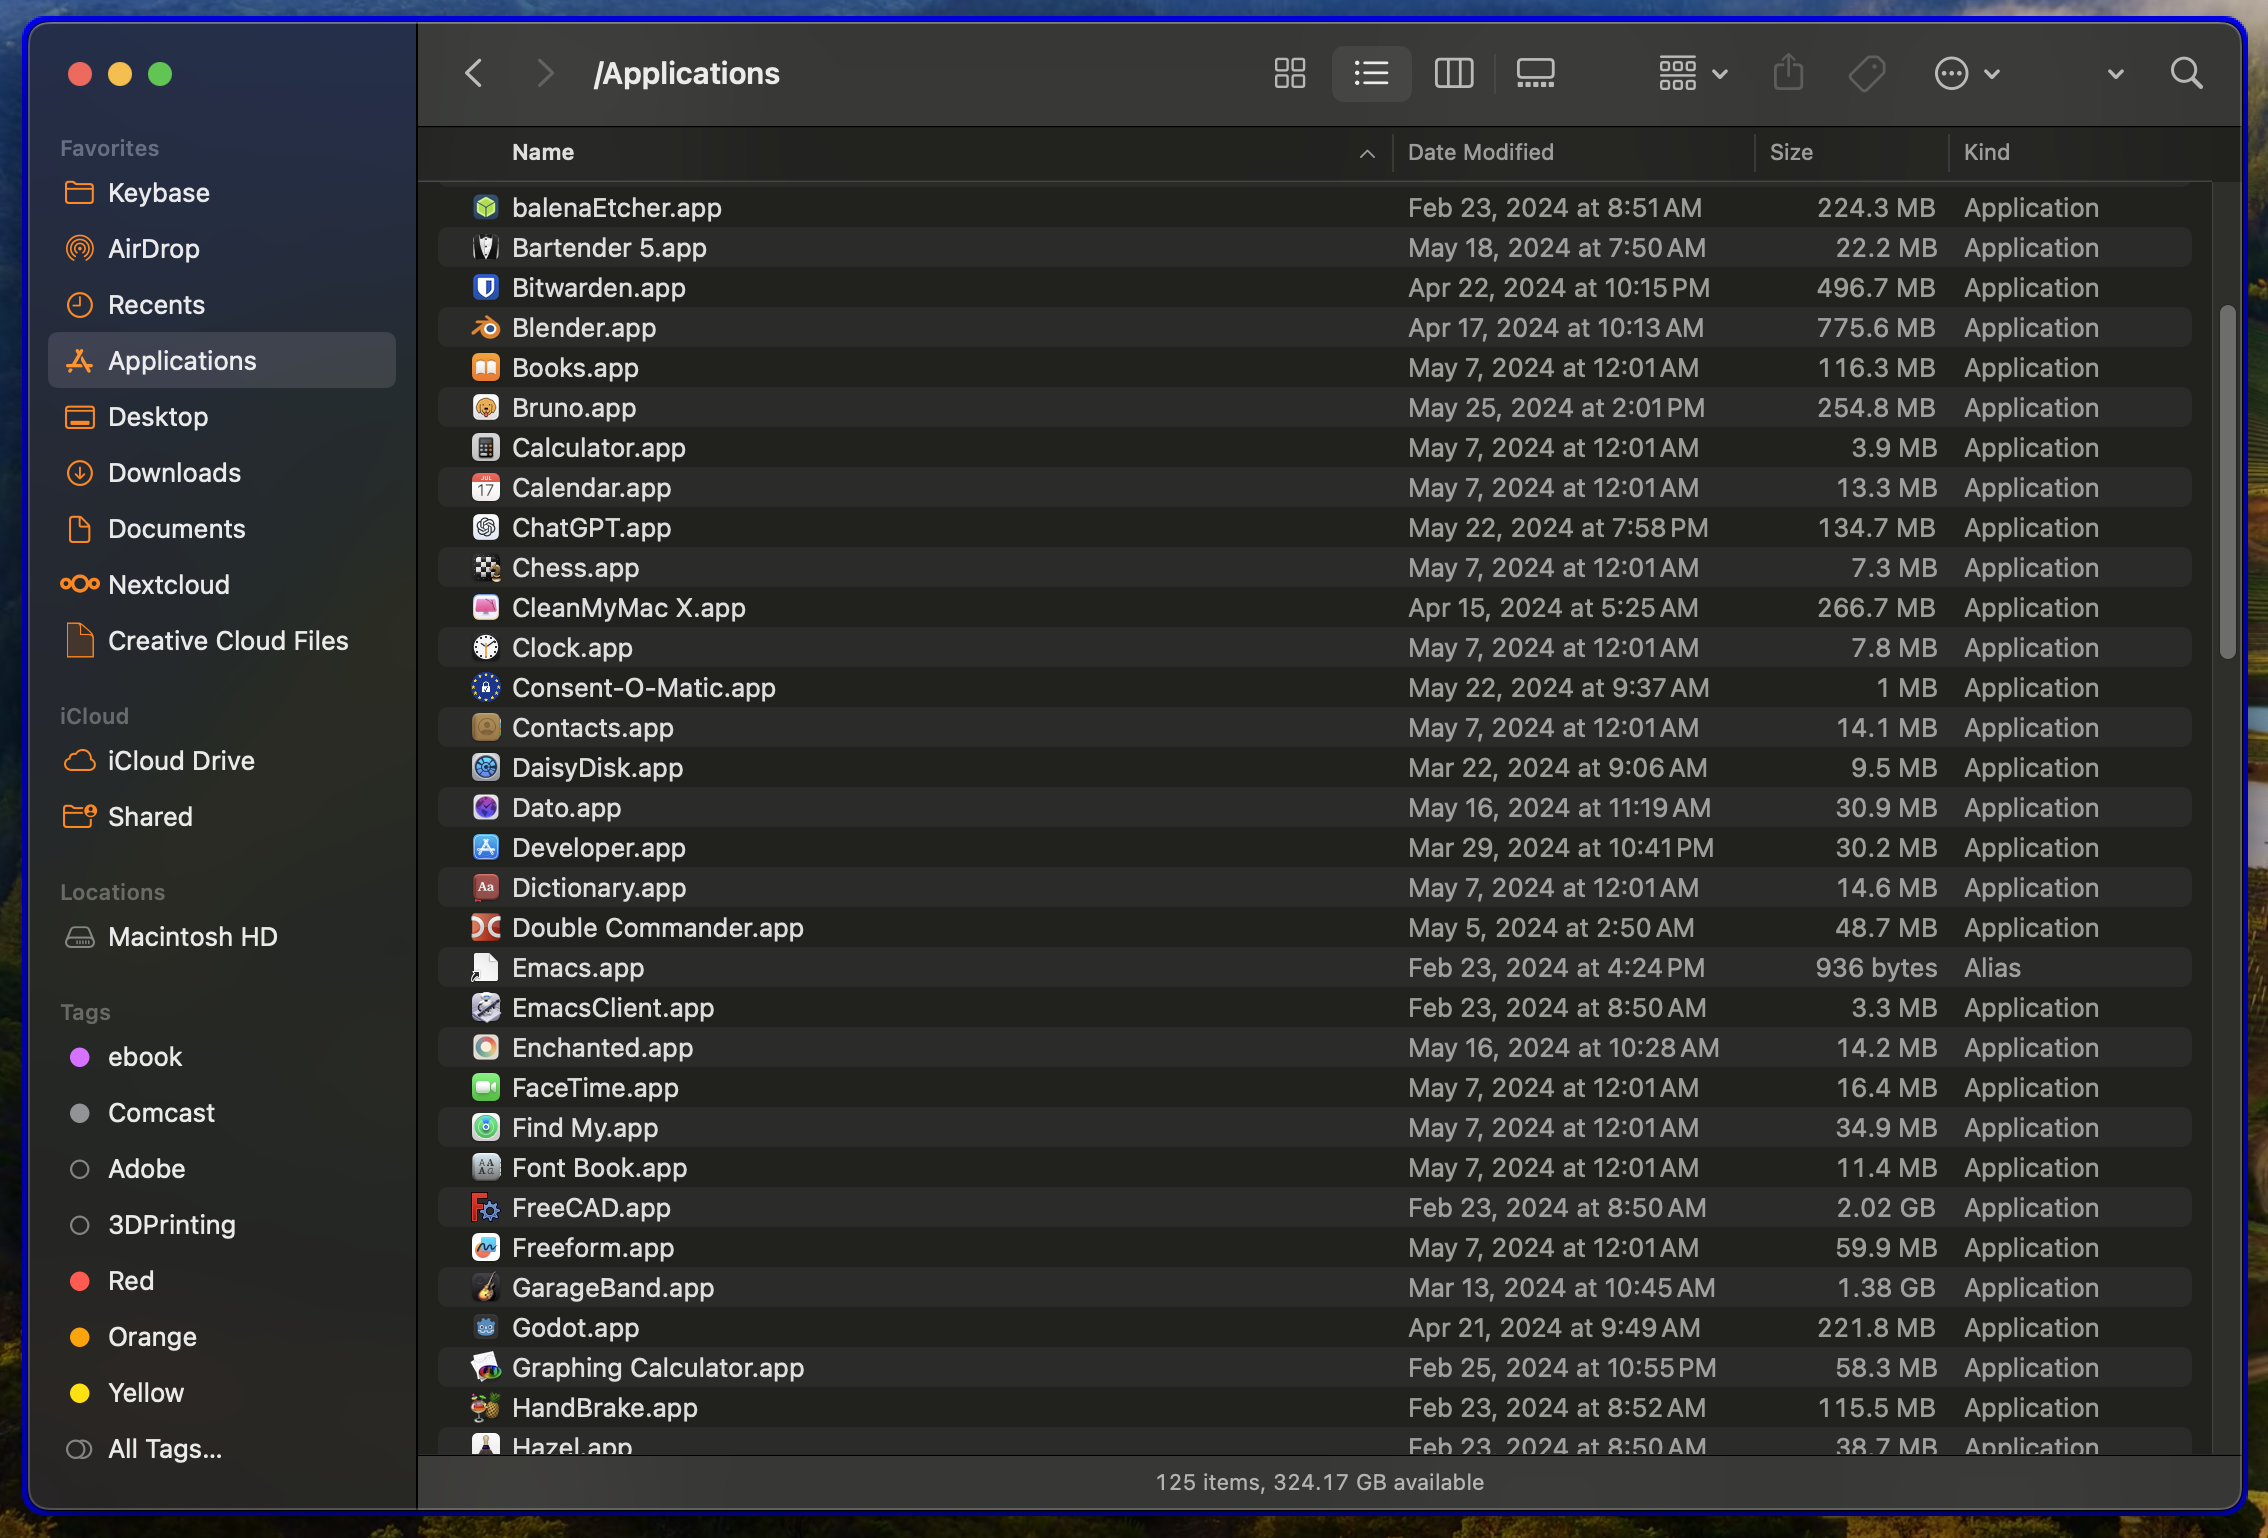
Shot Details
Inactive windows can have a different border color assigned. Let’s change the default color for inactive windows to red (RGB FF0000).
1#!/bin/bash
2
3options=(
4    hidpi=on
5    active_color=0xff0000FF
6    inactive_color=0xffFF0000
7)
8
9borders "${options[@]}"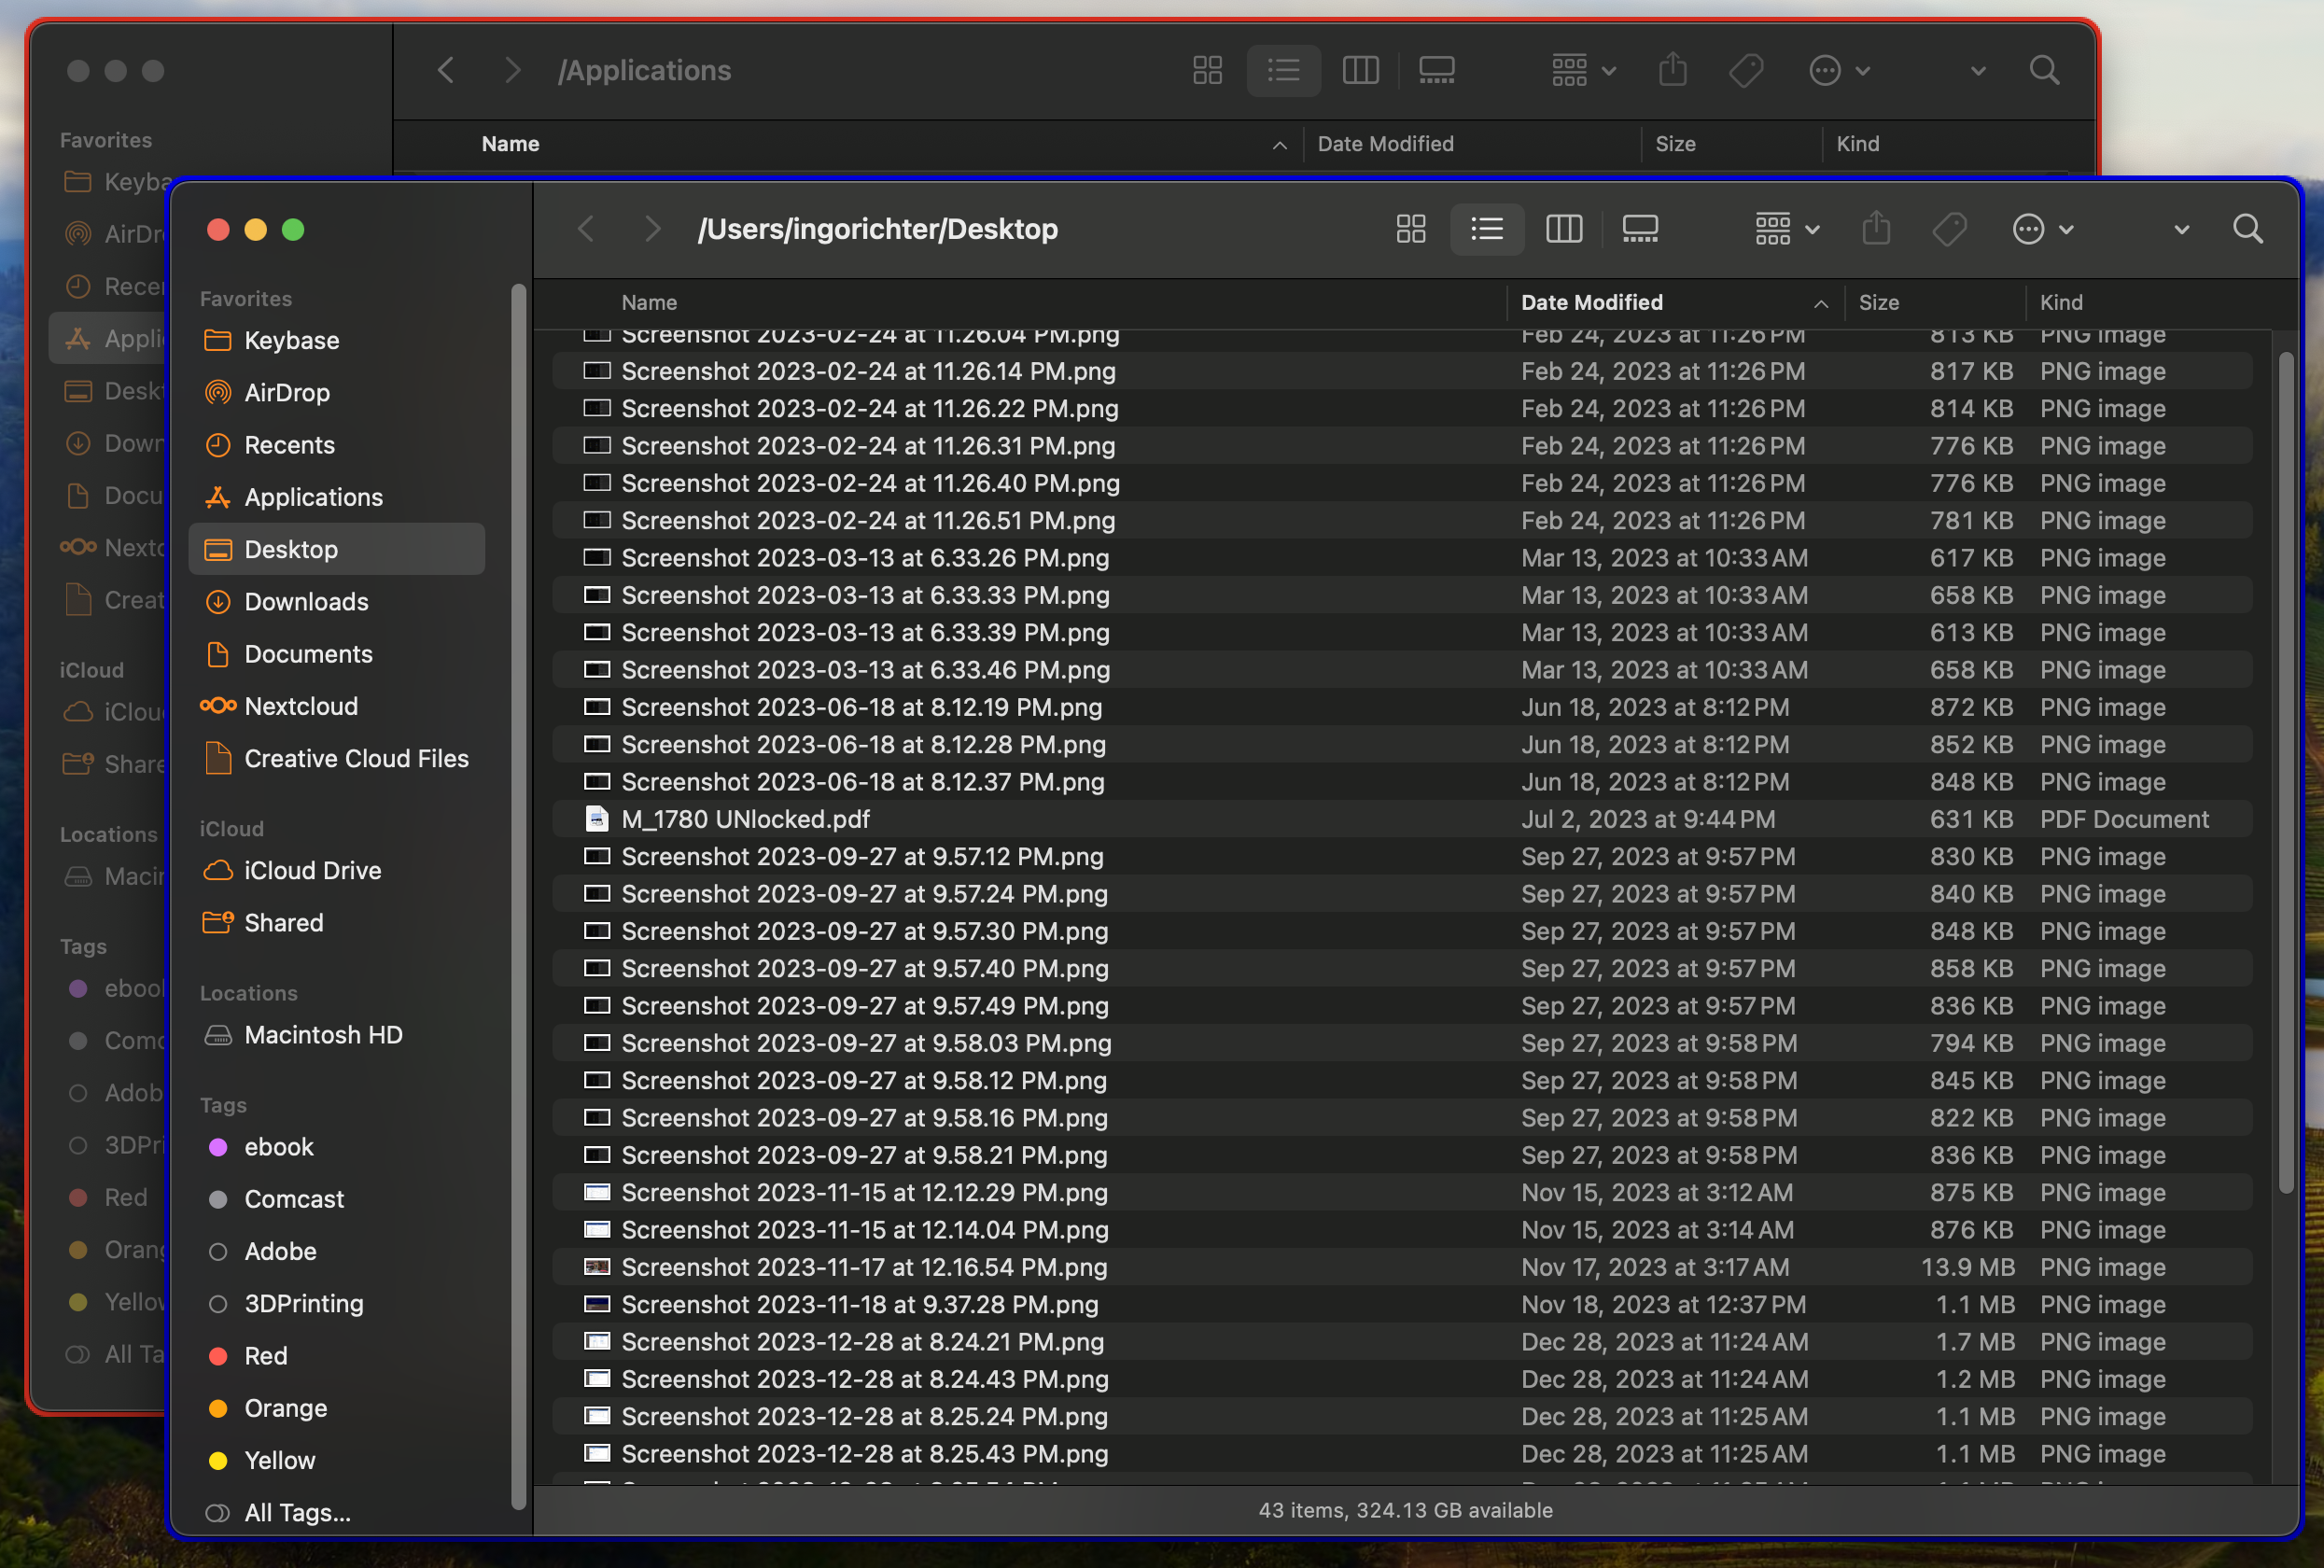
Shot Details
Gradients
You can also use gradients to provide a color gradient for the border. The value for any color can be a gradient in the form of gradient(top_left=0xffFF0000,bottom_right=0xff00FF00) or gradient(top_right=0xffFF0000,bottom_left=0xff00FF00).
It’s important to have the exact format of the gradient definition; otherwise, the border will not be rendered. I’m using zsh and the gradient definition has to be quoted.
The config file should look like this. I increased the border width to 20 to better see the gradient:
1#!/bin/bash
2
3options=(
4    hidpi=on
5    width=20.0
6    active_color="gradient(top_left=0xffFF0000,bottom_right=0xff00FF00)"
7)
8
9borders "${options[@]}"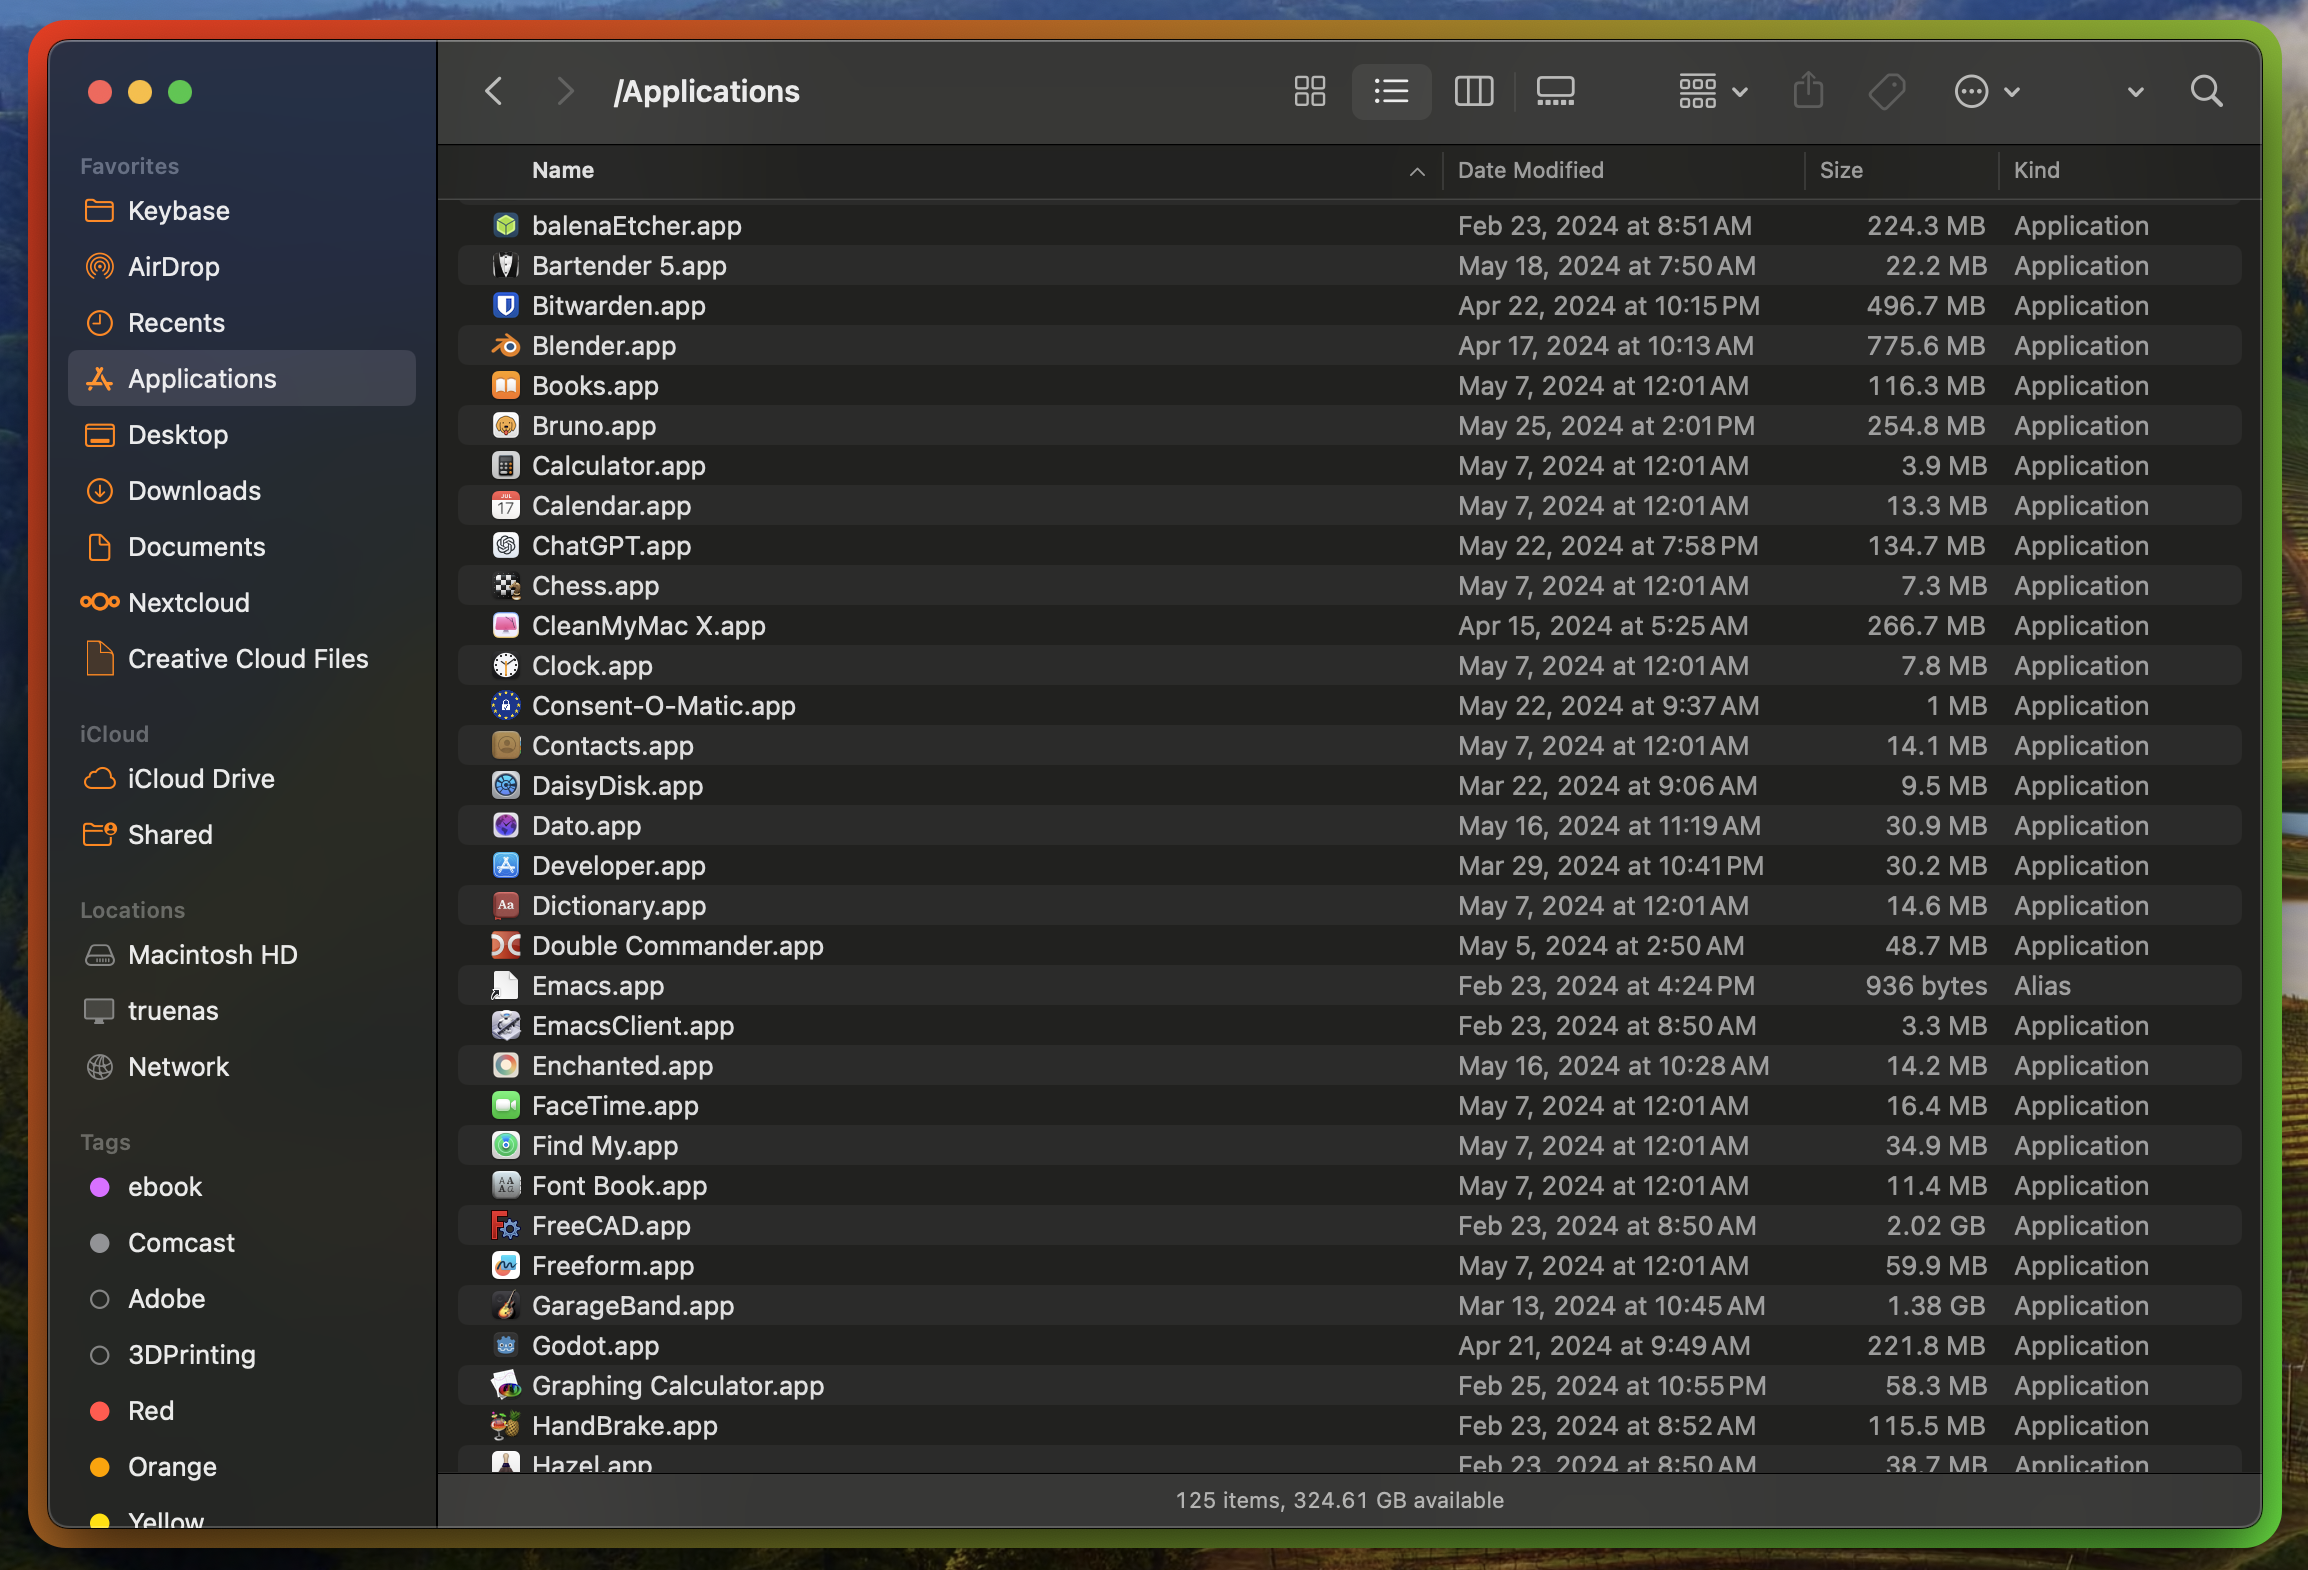
Shot Details
Glow
You can also use a glow effect for the border. Any color can be used to define a glow effect in the form of glow(0xffFF0000). This glow definition will provide a red glow effect to the border. It looks a bit like a neon light around the window.
The config file should look like this:
1#!/bin/bash
2
3options=(
4    hidpi=on
5    width=20.0
6    active_color="glow(0xffFF0000)"
7)
8
9borders "${options[@]}"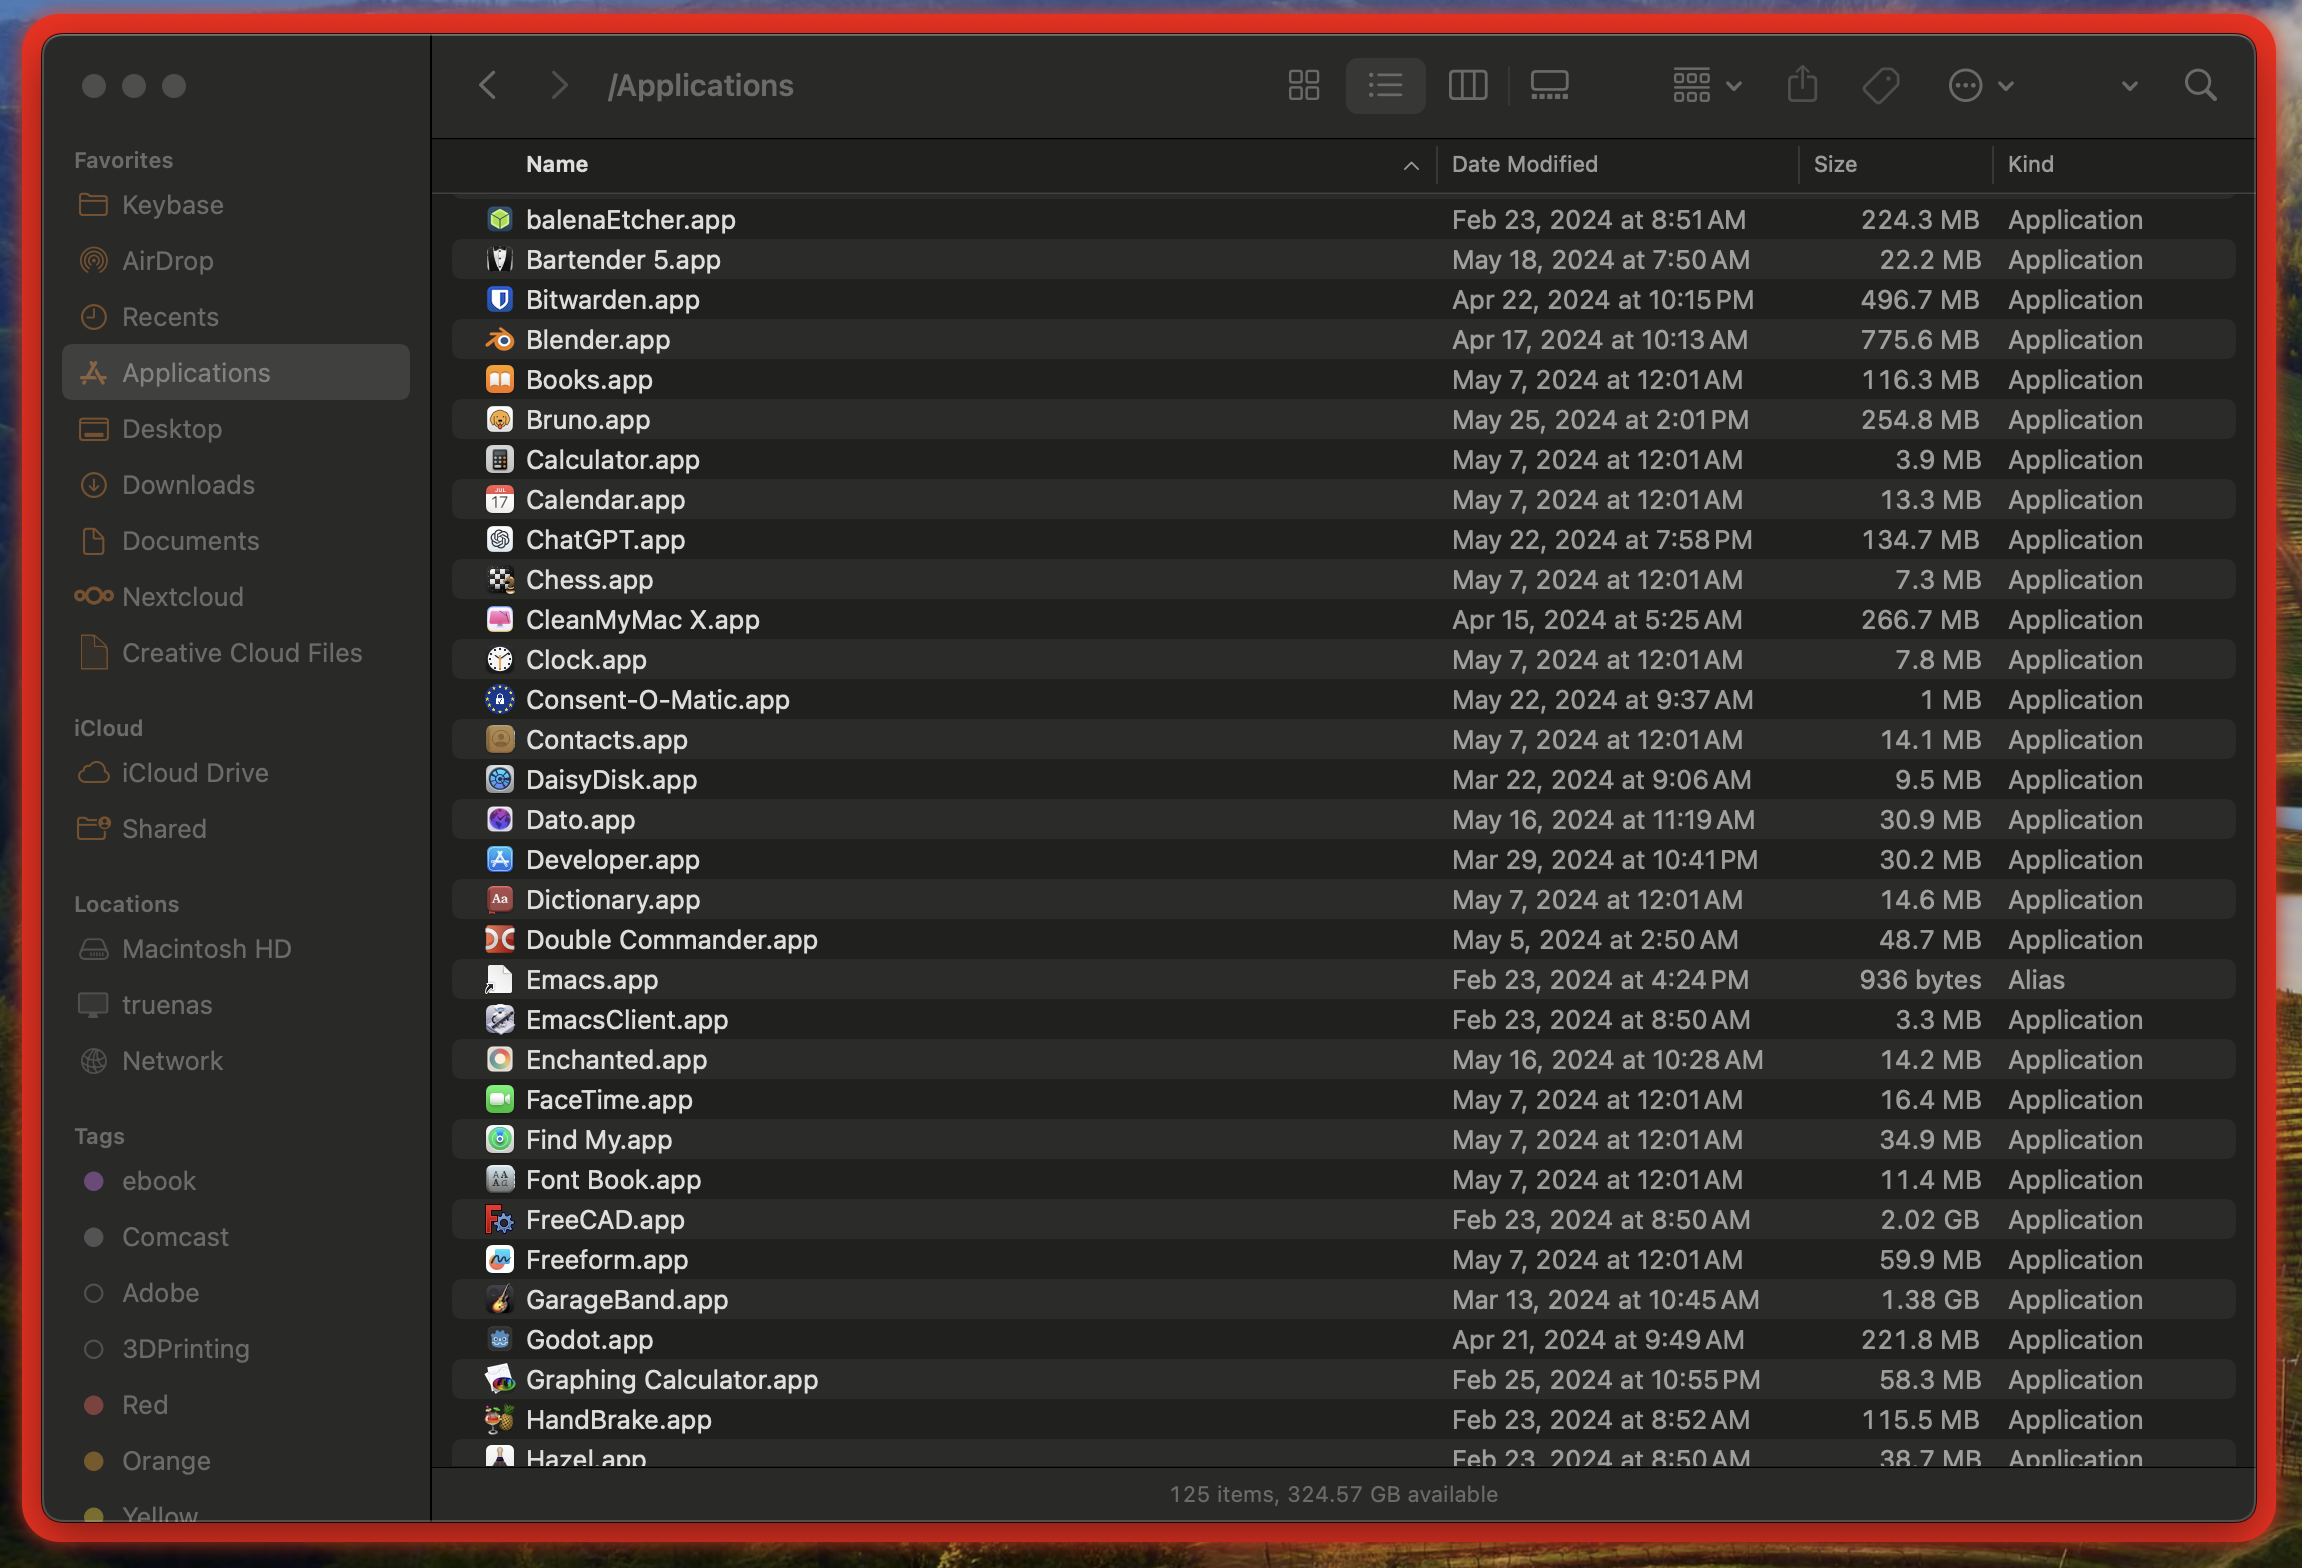
Shot Details
Allow and Deny Borders for Specific Applications
You can also allow and deny applications from having a border. Unfortunately, the naming of this feature is not well thought out, since it’s using the blacklist and whitelist notion that should be avoided in my opinion.
Specify the name(s) of the application in the blacklist, and the whitelist will only allow and deny the specifically mentioned applications. All other applications will or will not have a border.
The config file should look like this:
 1#!/bin/bash
 2
 3options=(
 4    hidpi=on
 5    width=20.0
 6    active_color=0xff0000FF
 7    blacklist="Finder"
 8    whitelist="Safari"
 9)
10
11borders "${options[@]}"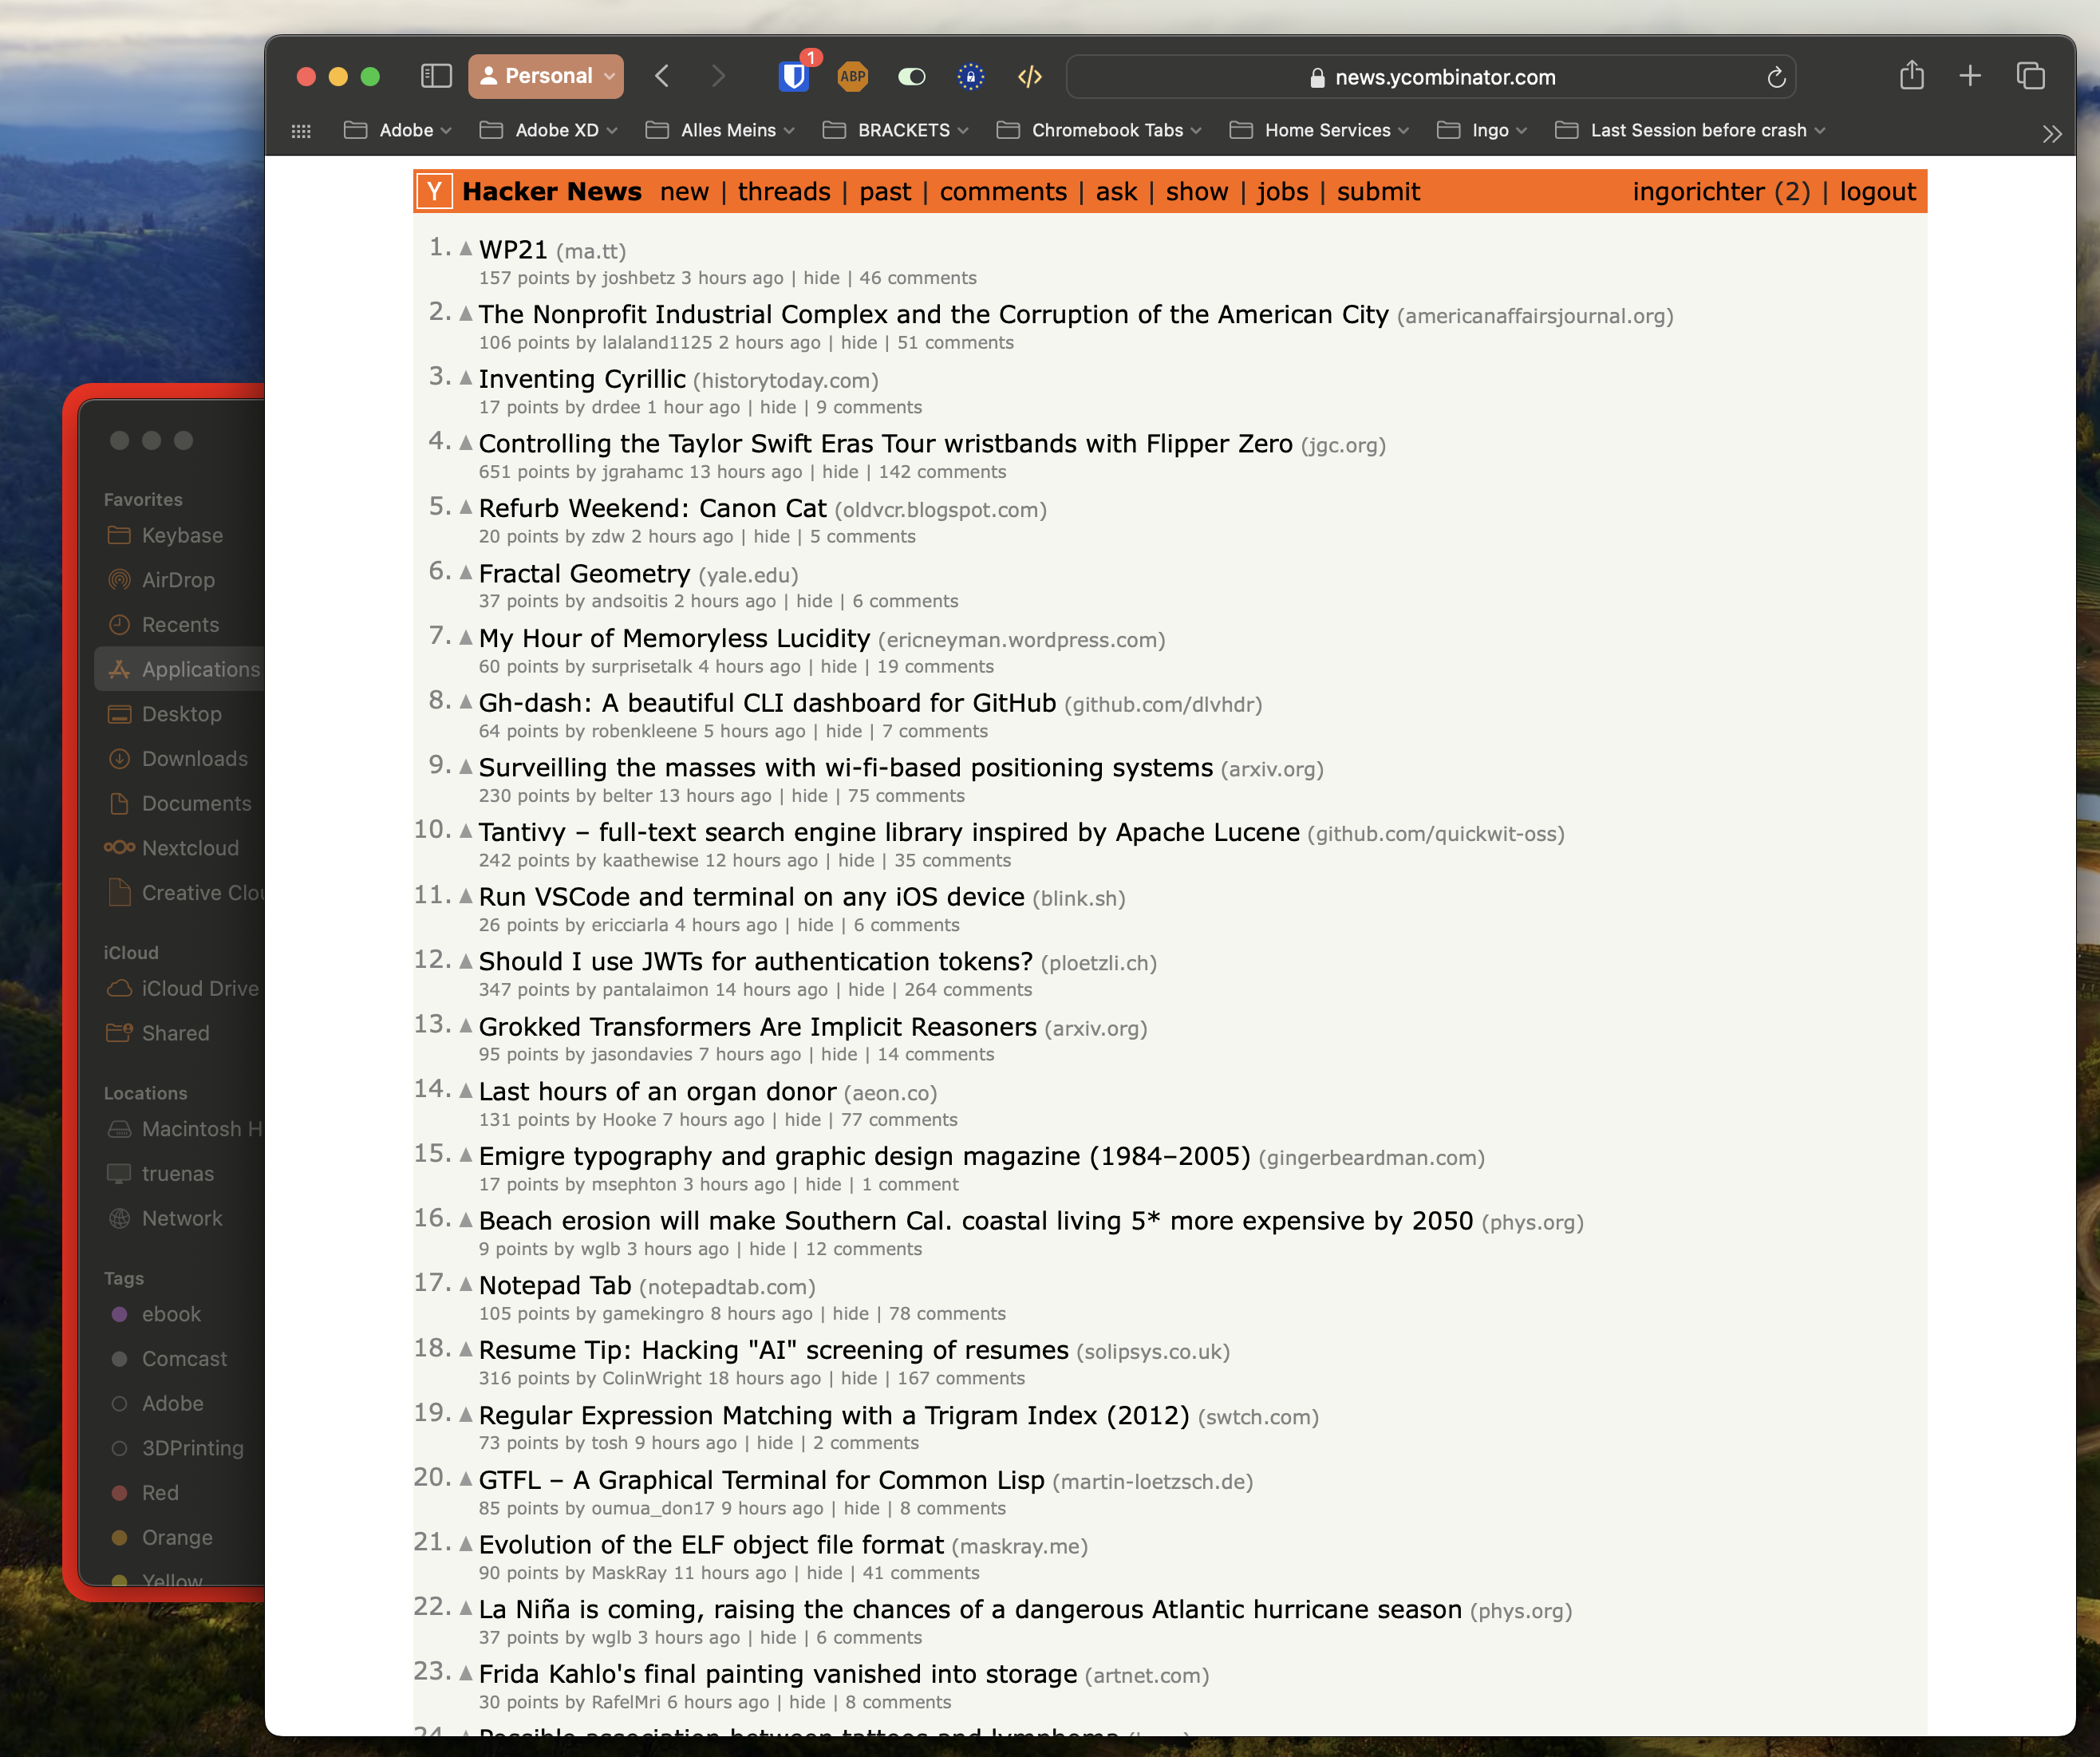
Shot Details
Conclusion
In my opinion, the best way to add a border around macOS app windows is to use the JankyBorders program. I hope you’ll find it useful too. There are more options than I mentioned here. You can read about them by running man borders in the terminal.
If you have any feedback, please let me know.
Thanks for reading!